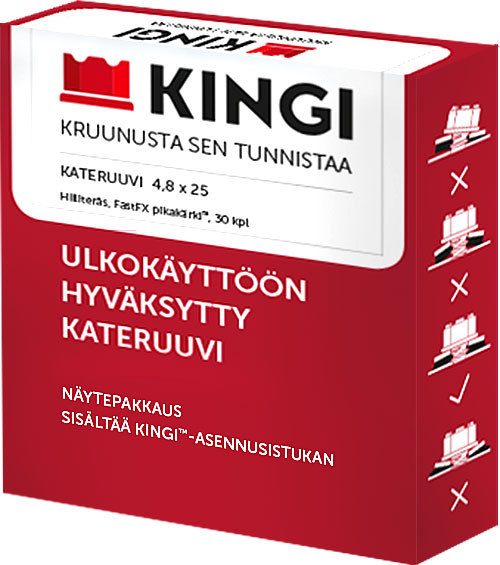
Installing a metal roof is now efficient
KINGI® roofing screw’s intelligent design ensures efficient installation of sheet metal roofing.
The CrownD crown-head design ensures a tight and secure grip on the screw head for the installation socket, while the FastFX quick bit™ drills through even overlapping steel roofing extremely quickly. Thanks to the head and bit, the KINGI® roofing screw drills precisely into the desired spot without scratching the roofing sheet. This avoids having to paint over scratches caused by the screw afterwards. An installation completed in one go saves time and money and ensures the quality of the steel roofing.
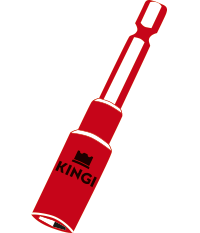
Use a KINGI® installation socket (ø 8.27 mm) during installation so that the KINGI® roofing screw’s unusually thick 3-layer coating is not scratched during installation.
Installation instructions
Before installation, consult the more detailed installation and maintenance instructions and warranty terms in the KINGI® roofing screw user guide.
STEP 1
For installation, we recommend using a screw gun equipped with a torque release or depth adjustment. Before starting the actual installation, perform a compression test on the washer seal so that you can adjust the correct tightening torque or depth adjustment. Adjust the screw gun’s torque release or depth adjustment so that, when viewed from above, the EPDM seal of the washer is compressed approximately 1 mm beyond the edge of the aluminium washer.
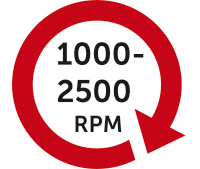
The correct rotational speed is 1000–2500 rpm. When fastening, the screw gun should be pressed with a force of at least 15 kg. The higher the rotational speed and pressure, the faster the drilling will take place, but at the same time the risk of drilling too deep increases.
Once you have adjusted the settings correctly, also check the steel roofing manufacturer’s installation instructions. You can then begin installing the steel roofing.
STEP 2
Place the KINGI® screw in the installation socket (Ø 8.27 mm) and place the tip of the screw on the steel roofing in the position specified by the steel roofing manufacturer’s instructions.

STEP 3
Keep the screw straight while drilling. If the screw is not straight, the tip of the screw may slip on the surface of the steel sheet, causing scratches on the sheet metal. If the screw is drilled at an angle, the washer seal will not be pressed tightly enough against the sheet metal, and the joint will not be watertight.

STEP 4
Drill the screw deep enough for the EPDM seal on the washer to sit firmly against the steel roofing, making the joint watertight. However, do not drill too tightly, so that the washer does not become cup-shaped. The edges of the washer bent upwards form a cup in which accumulated rainwater causes a risk of corrosion. If the paint coating on the screw is damaged during installation for any reason so that the galvanizing underneath is exposed, replace the screw with a new one.

STEP 5
After installation, check that the screws have been fastened according to the instructions. Replace incorrectly fastened screws with new, correctly fastened screws.
KINGI® User Guide for the Four-Wheel Drive
Read the installation and maintenance instructions as well as the warranty terms.